By NFC Visiting Cards Editorial Team | Published | Updated | Using your card
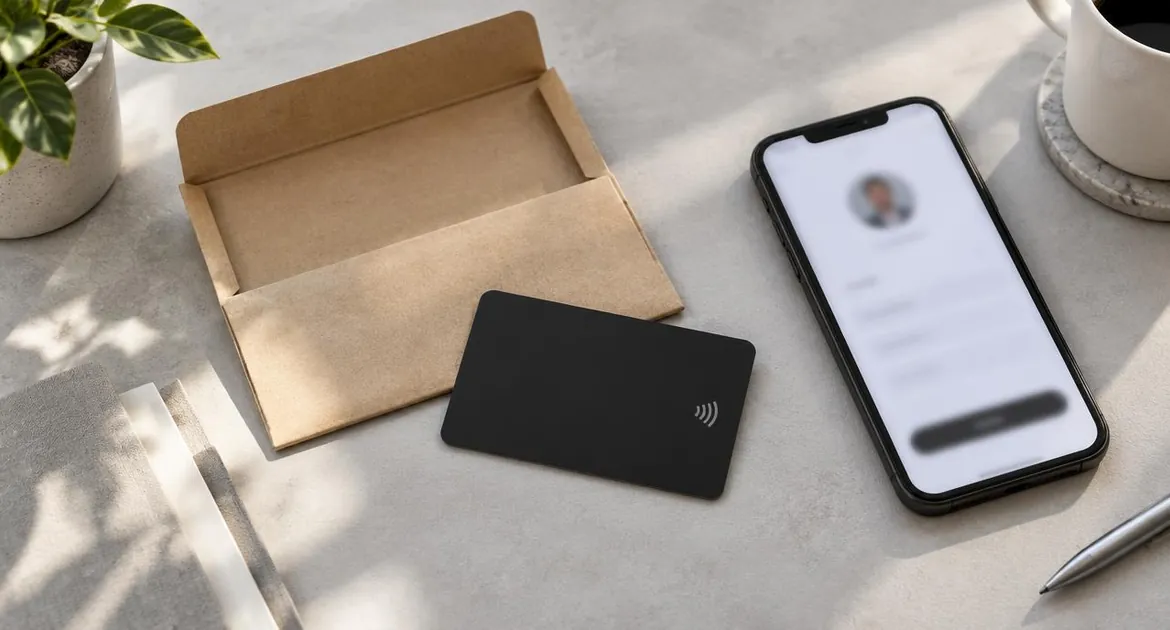
Your NFC visiting card arrives printed and ready to tap. What makes it useful is the online profile it opens. This guide covers setting that profile up, from the moment the card arrives to the first tap in front of someone else.
For the bigger picture, start with how NFC visiting cards work.
Before the card arrives
Part of the set-up happens when you order. On the NFC visiting card page you:
- choose a material, PVC, metal or bamboo wood, and a colour or finish;
- pick your profile plan, Brand Presence or Business Add-ons, and any extras, such as adding your logo or removing the platform branding;
- enter the name and role to print on the card, and upload your logo if you added one;
- pay once at checkout.
We print the card and dispatch it from the UK with Royal Mail tracking. While you wait, gather what you want on your profile: a photo or logo, your contact details, the links you share most and any documents you want people to open. Having these ready means the first tap never opens an empty page.
Step 1: Create or claim your profile
Your profile is hosted by our platform partner (Lets Connect). You edit it from your account there.
When your card arrives, tap it on your own phone. It opens the page linked to your card. Follow the set-up steps on that page to create your account, or sign in if you already have one. From then on, the profile is yours to edit.
Keep your order number and the email address you ordered with to hand. If the tap opens something you did not expect, or you are not sure which account to use, contact us with your order number. We reply within 48 hours.
Step 2: Add your details
Start with what people need first:
- your name and role, spelled as on the card;
- your phone number and email address;
- your website;
- a clear photo or your logo.
These sit at the top of the profile, where people see them first. When someone saves your contact, these are the details that go into their phone, so check every letter and digit.
Step 3: Add your links and sections
Next, add the rest of what you want to share. The Brand Presence plan includes sections such as social links, a gallery, documents, products, testimonials and a blog, plus templates, visibility controls and password protection. The Business Add-ons plan adds features such as bookings, enquiries, forms, contact leads and a CRM.
A few tips:
- Put your most-used link near the top. For many people that is a booking link or a portfolio.
- Show only what helps. Use the visibility and order settings to hide sections you are not using and to choose what comes first.
- Protect what is private. Password protection suits documents you only want some people to open. Share the password in person.
- Match the look to your card. Pick a template and colours that sit well with the card's material and your logo.
Our guide to custom NFC visiting card design covers how the card and the profile work together visually.
Step 4: Test a tap and a scan
Before you hand the card to anyone, test it yourself:
- Tap the card on your own phone and check the profile opens.
- Scan the QR code with your camera and check it opens the same profile.
- Save yourself as a contact and look at what was saved.
- Open every link on the profile.
- If you can, try a phone that runs the other system, iPhone or Android, so you know where to hold the card on both.
The tap works on iPhone XR or later and on Android phones with NFC switched on. Other camera phones can scan the QR code. If you chose metal, find the spot that reads best and remember it.
Set-up at a glance
| Step | Where it happens | What to check |
|---|---|---|
| Choose material, plan and extras | The NFC visiting card page, before you pay | Material, colour, plan and logo option |
| Enter your name and role | The order form | Spelling, exactly as it will be printed |
| Create or claim your profile | The page your card opens, then your account | You can sign in and edit |
| Add your details | Your profile | Name, role, phone, email and website at the top |
| Add links and sections | Your profile | Every link opens the right page |
| Test a tap | Your own phone | The profile opens |
| Test a scan | Your phone's camera | The QR code opens the same profile |
| Save yourself as a contact | Your own phone | The saved contact has the right details |
| Change details later | Your profile | The change shows on the next tap |
Step 5: Your first tap with someone else
Once the tests pass, you are ready. Ask before you tap, hold the card near the top of the back of their phone and point to the save-contact button when the profile opens. Our guide to how to use an NFC visiting card covers what to say and what to do if a tap fails.
Changing things later
This is where an NFC card differs from paper.
- Edit the profile. This is how you change almost everything. A new phone number, role or link goes live on the profile, and every card you have handed out shows it on the next tap.
- Rewrite the chip only if you must. If you want the card to open a different page altogether, our guide to updating the link on an NFC card explains how to rewrite it with the NFC Tools app. The printed QR code does not change when you rewrite the chip, so it would still open the old link. If your card opens your profile, edit the profile instead.
If you are weighing a ready-made card against programming your own, our guide to DIY NFC visiting cards vs a ready-made one compares the set-up of each.
Common set-up mistakes
- Handing out the card before the profile is ready. The first person you meet sees an empty page.
- Typos in the contact details. They end up in other people's phones.
- Broken links. Open each one after every change.
- Too much on the profile. Lead with what people need, and hide the rest.
- Testing only the tap. Scan the QR code too. Some people will only ever use the camera.
- Not re-checking after a change. Tap the card again whenever you edit the profile.
Frequently asked questions
How do I set up my NFC visiting card?
Tap the card on your own phone, follow the steps on the page it opens to create or claim your profile, then add your details and links. Finish by testing a tap and a QR scan.
Do the people I meet need an app?
No. On iPhone XR or later and on Android phones with NFC switched on, a tap opens your profile in the browser. Other camera phones can scan the QR code.
Which profile plan do I need?
Brand Presence covers a branded profile with your details, links and sections such as a gallery and documents. Choose Business Add-ons if you also want bookings, enquiries, forms or contact leads.
Can I change my details after set-up?
Yes. Edit your profile and the change shows on every card you have handed out, the next time it is tapped or scanned.
Do I need to rewrite the chip when my details change?
No. The chip opens your profile, so you edit the profile. Rewriting is only for sending the card somewhere else entirely.
Does the QR code need setting up?
No. It is printed on the card and opens the same profile as the chip. Scan it once to check.
What if the tap opens the wrong page?
Contact us with your order number. We reply within 48 hours.